
Our Products

Choose Our Top Courses
$27
Getting Started with ClickUp Course
— For anyone who needs a headstart getting started with clickup
ClickUp is an amazing productivity tool that can be used for work, home, and anything in between! You can customize it to meet all of your needs rather than trying to fit your world into another system. Sign up now for the waitlist to start receiving updates.
$97
Personal Productivity with ClickUp Course
— For working mamas who want to jumpstart their personal productivity using clickup
If you want to take your use of ClickUp to the next level and really kick your productivity and organization into high gear, this is the course for you! Sign up now to be part of the beta program and receive all the updates at no additional cost!
Shop By Categories
Save time by visiting just the categories of products that you are interested in at the moment.


Join the Our Learning Adventures Community
Find a community that understands your day to day struggles and is there to support you in your personal learning adventures.

OLA - Pretty Unicorns Coloring Book
$5.00
$8.0038% off$5.00
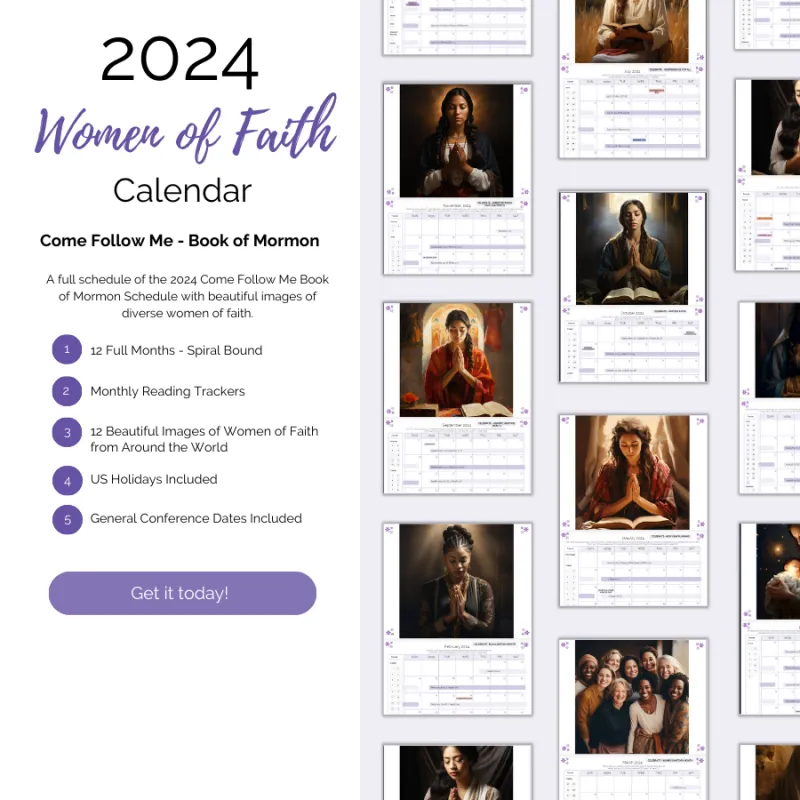
2024 Come Follow Me Calendar and Tracker (Book of Mormon)
$25.00
$30.0017% off$25.00
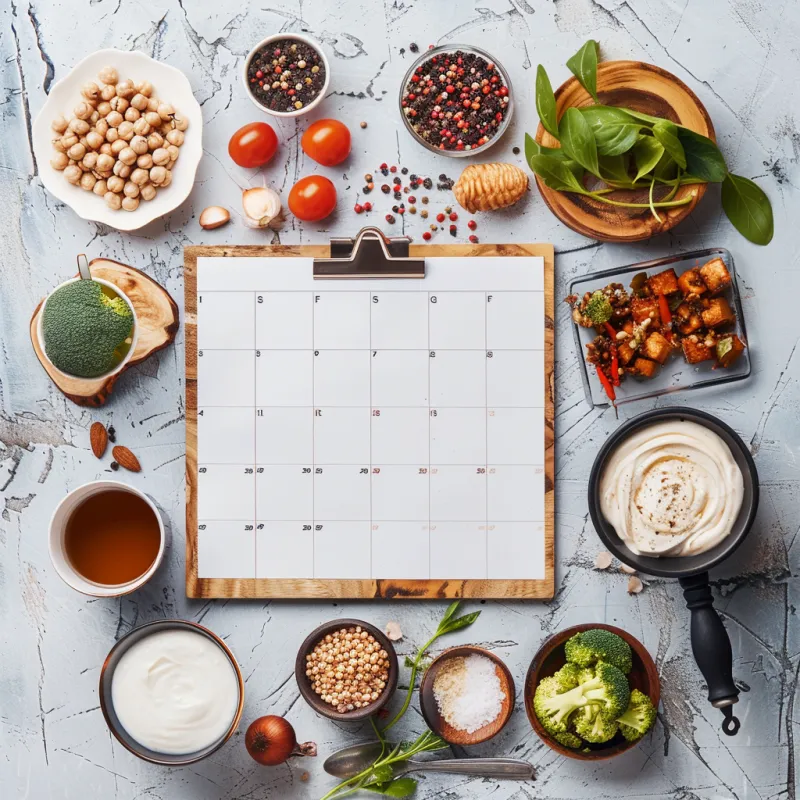
Monthly Meal Plan
$5.00
$7.0029% off$5.00
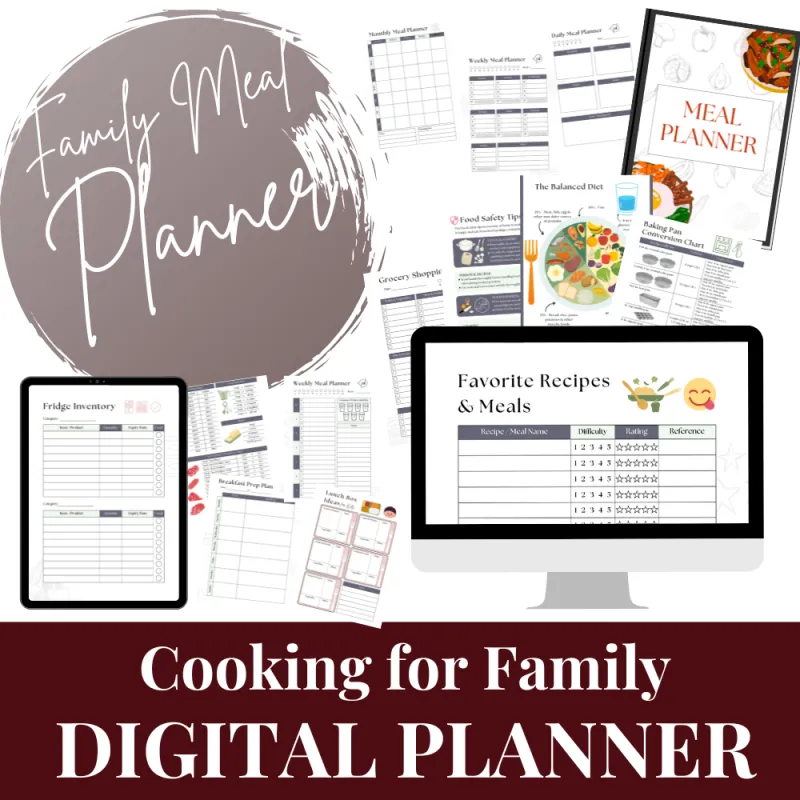
Cooking for Family Meal Planner | Fillable Digital Product
$17.00
$20.0015% off$17.00

Excited One Baby Dragon Youth jersey t-shirt
$17.50
$17.50

Excited One Baby Dragon Toddler T-shirt
$16.00
$16.00
Frequently Asked Question
Welcome to our FAQs section, where we address common questions and provide helpful answers about our products and services.

Can I customize any of the clothing products?
Yes, we offer customization options for many of our clothing products. Feel free to send us an email at [email protected] if you have specific needs that aren't already listed.
What types of services do you offer?
We provide a limited number of one-on-one coaching/consulting for setting up and utilizing ClickUp for your personal or work needs.
Let us know your interest in this option by filling out this quick form: One-on-One ClickUp Consulting
We also are working on a ClickUp for Working Moms course that will be starting a beta launch soon. If you are interested in joining please fill out this interest form: Personal Productivity with ClickUp Course
Do you offer one-on-one coaching?
Yes! 🙂 We provide a limited number of one-on-one coaching/consulting for setting up and utilizing ClickUp for your personal or work needs. Let us know your interest in this option by filling out this quick form: One-on-One ClickUp Consulting
We will contact you with next steps within 48 hours after receiving your request.
How long does it take to receive my physical products?
Production times vary but are typically within 7-10 business days.
See Our Latest Blogs
Stay up-to-date with our newest blogs. Our blog section is your go-to resource for valuable content.

Lemon Bars
Tangy and Sweet Lemon Bars: A Perfect Dessert for Any Occasion!
Are you looking for a dessert that combines a zesty lemon flavor with a buttery, crumbly crust? Look no further! These Lemon Bars are sure to be a hit at any gathering or as a delightful treat for yourself. Easy to make and incredibly delicious, they strike the perfect balance between tangy and sweet.
Ingredients:
- 2 cups flour
- ½ cup plus 2 tablespoons confectioners’ sugar, divided
- 1 cup butter
- 4 eggs
- 2 cups sugar
- 1/3 cup fresh lemon juice
Instructions:
Preheat Oven:
Begin by preheating your oven to 350°F (175°C). This ensures that your oven is ready to bake your lemon bars to perfection.
Prepare the Crust:
1. Mix Dry Ingredients: In a medium-sized bowl, combine 2 cups of flour and ½ cup of confectioners’ sugar.
2. Cut in the Butter: Add 1 cup of butter to the flour mixture. Using a pastry blender or two knives, cut the butter into the flour mixture until it becomes crumbly. The goal is to have small, pea-sized pieces of butter throughout the mixture.
3. Form the Crust: Pat the crumbly mixture evenly into the bottom of a 9x13-inch baking dish. Press gently to form a solid crust layer.
4. Bake: Place the dish in the preheated oven and bake for about 15 minutes, or until the crust is lightly browned. This pre-baking step ensures a firm and delicious base for your lemon bars.
Prepare the Lemon Filling:
1. Mix Wet Ingredients: In a large bowl, beat 4 eggs, 2 cups of sugar, and 1/3 cup of fresh lemon juice until the mixture is smooth and well combined. The eggs should be fully incorporated, creating a custard-like filling.
Bake and Cool:
1. Add the Filling: Pour the lemon mixture over the baked crust, spreading it out evenly.
2. Bake Again: Return the baking dish to the oven and bake for an additional 20 minutes, or until the lemon filling is set. You’ll know it’s done when the filling doesn’t jiggle much when the pan is gently shaken.
3. Cool: Once baked, remove the dish from the oven and let it cool on a wire rack. Allowing the bars to cool completely helps the filling set properly.
Finish and Serve:
1. Add a Dusting of Sugar: After the bars have cooled, sprinkle the remaining 2 tablespoons of confectioners’ sugar over the top. This adds a lovely touch of sweetness and a beautiful finish.
2. Cut into Bars: Use a sharp knife to cut the dessert into 24 bars. For clean edges, wipe the knife clean between cuts.
Yield:
This recipe makes 24 delicious lemon bars, perfect for sharing at parties, family gatherings, or enjoying as a treat throughout the week.
---
Enjoy these zesty lemon bars with a delightful buttery crust! Whether you’re a seasoned baker or a beginner, this recipe is straightforward and yields consistently delightful results. The combination of the tangy lemon filling and the sweet, crumbly crust is sure to satisfy your sweet tooth and leave you craving more.
Happy baking! Let me know in the comments how your lemon bars turned out, or share any twists you added to the recipe!

About Us
We help working moms feel more organized, confident, and in control of their day-to-day life through effective use of tools and learning the importance of giving themselves grace and understanding the power of mindset.
Contact Us
Email: [email protected]
Copyright© 2025 Our Learning Adventures - All Rights Reserved.
Facebook
Instagram
Pinterest